using-templater-to-automatically-rename-a-file-in-obsidian
Templater is a plugin for Obsidian. It can be used to make notes in Obsidian easily. Templater has different functions that differ from the default template functions.
Steps
Install Templater
The easiest way to do this is within Obsidian itself.
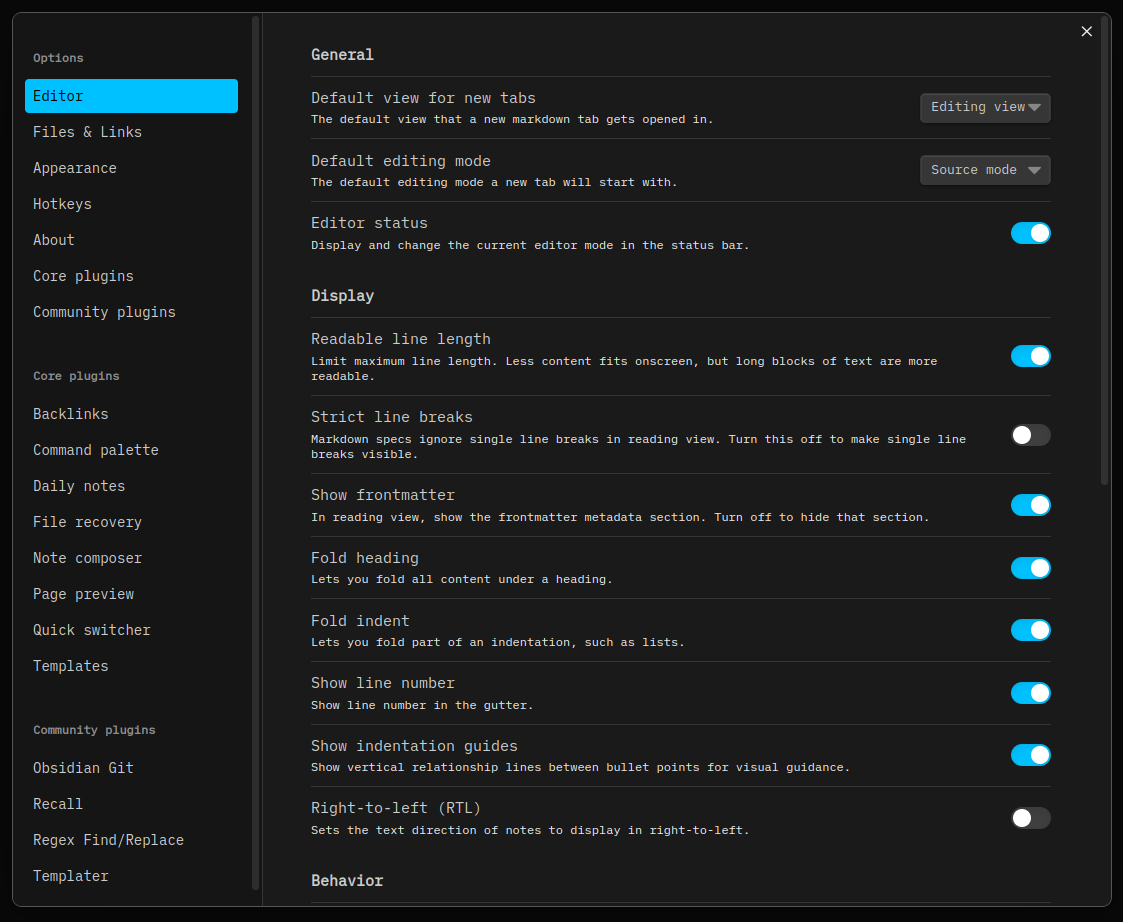
Open the Settings Dialogue
If you are unsure how to do that, it is usually the little cog icon in the sidebar, depending on what theme you are using.

If that doesn’t work, you can also use the command palette to find the settings. Open the command palette with CMD+P on Linux/Mac or WIN+P on Windows. Then search for “Settings.”

After opening, you should see something that looks like this:
Install through the Community Plugins
Select the “Community Plugins” section in your settings and then select “Browse.”
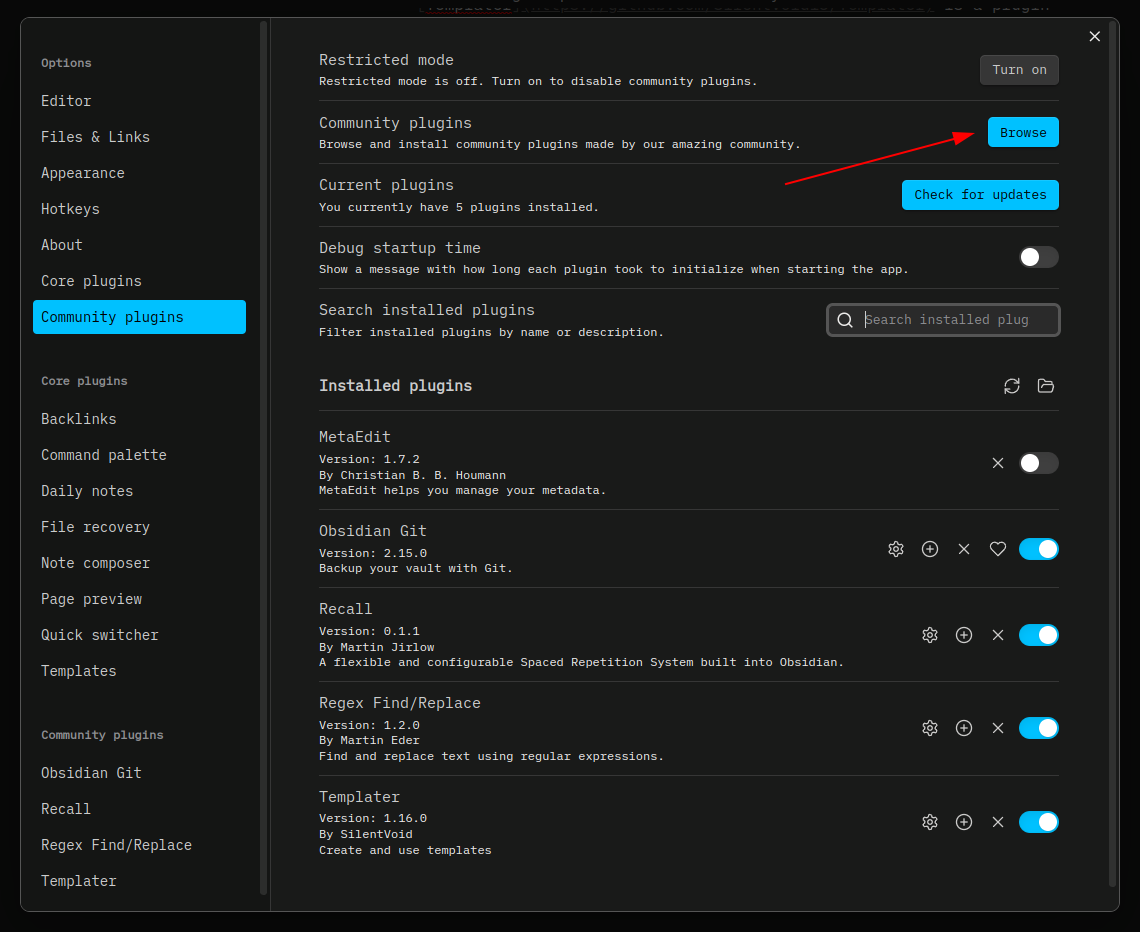
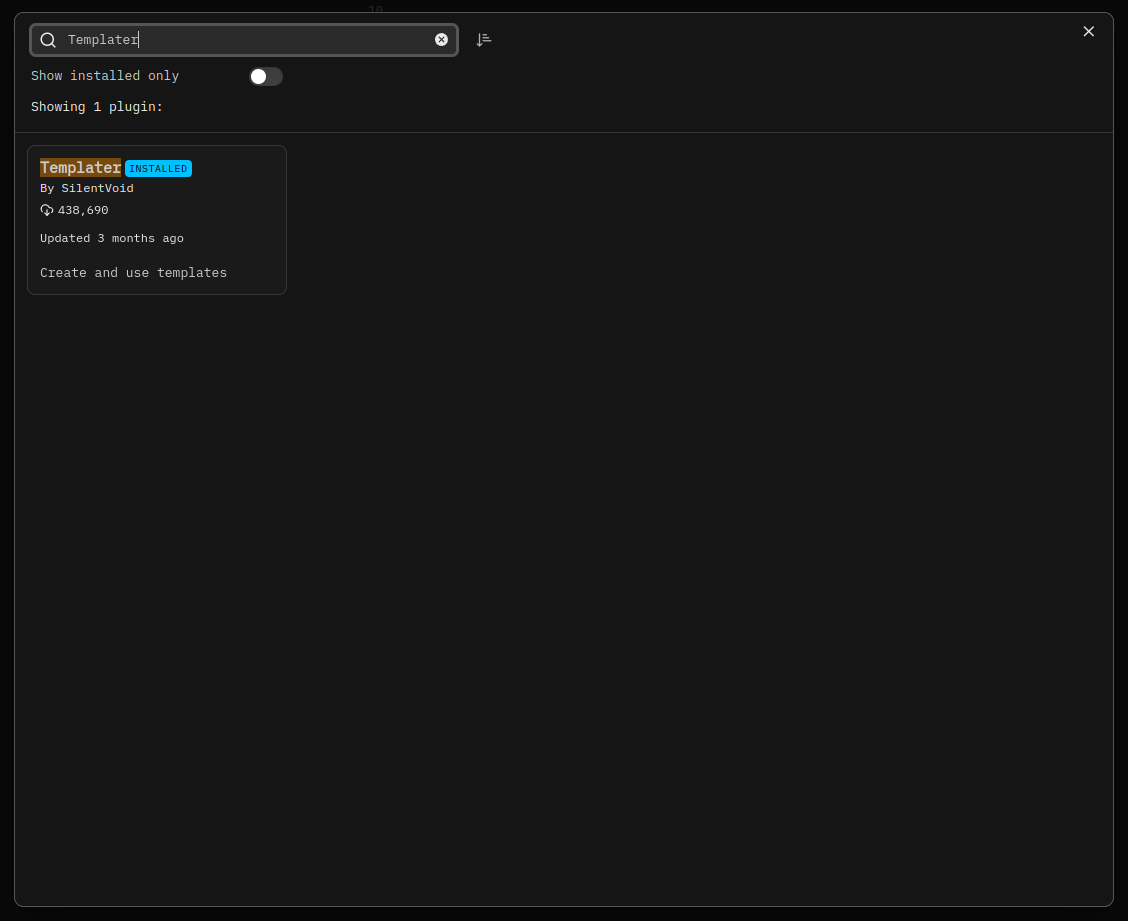
This should take you to a page displaying multiple plugins. You can narrow down the search by typing “Templater” in the search bar. This should narrow it down to one plugin.
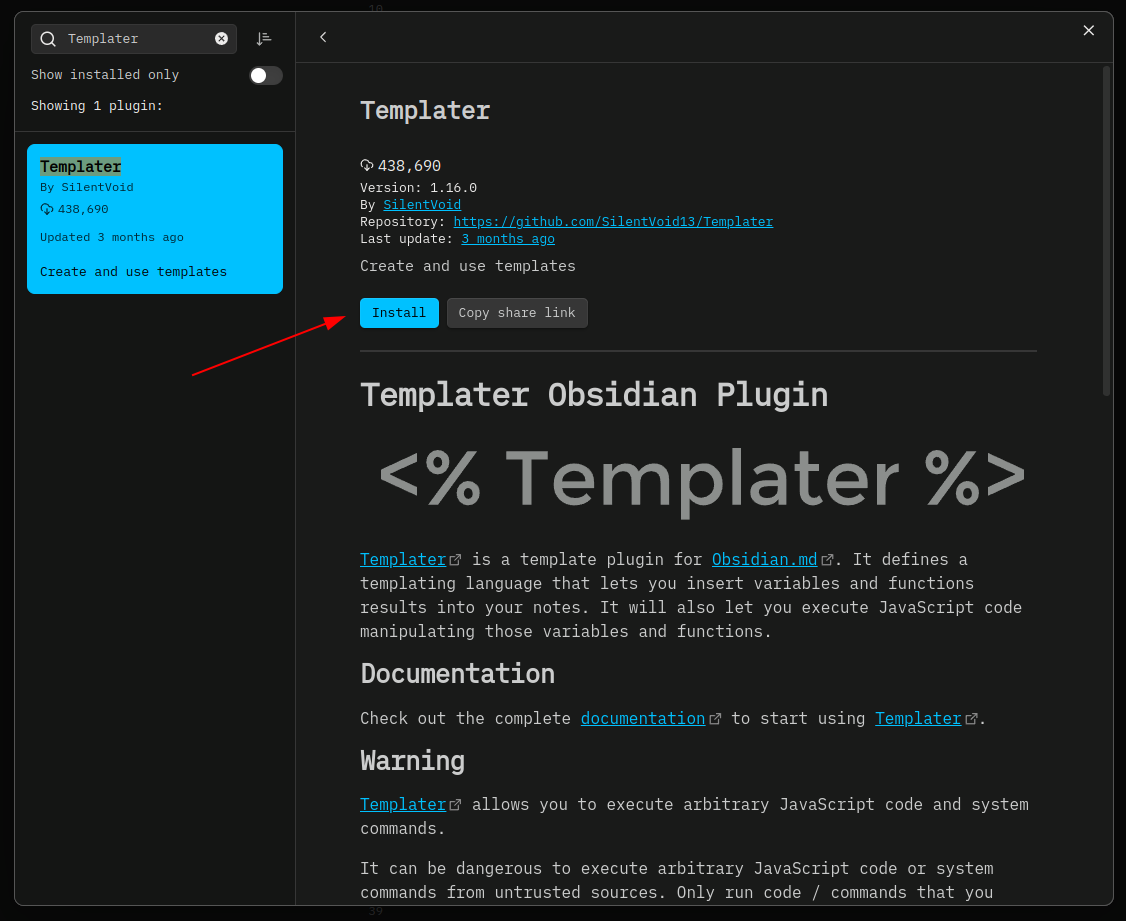
Clicking on “Templater” will show more information with the plugin. To install, just click the “Install” button.
Don’t forget to click “Enable” after installing the plugin!

Configure Templater
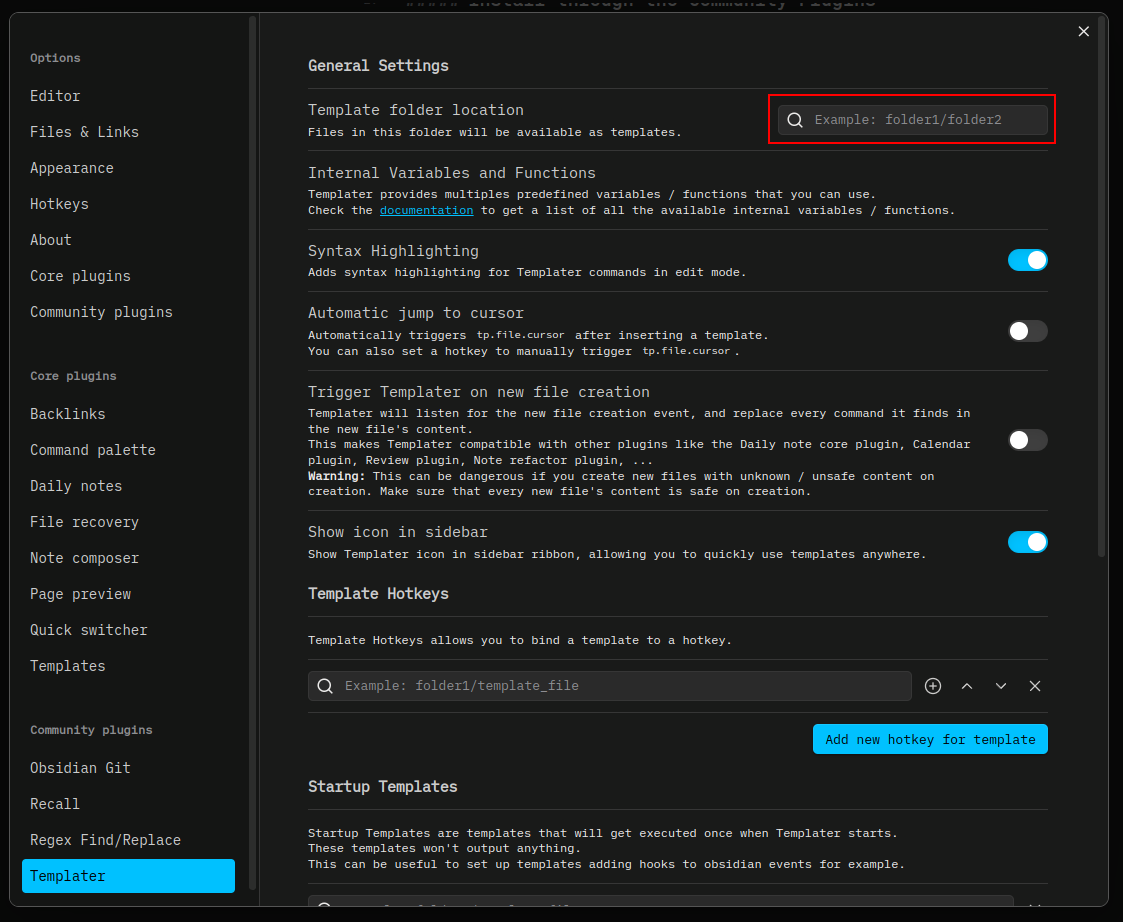
After enabling the plugin, click the “Options” button. You should see a page full of settings specifically for Templater.
The only setting that matters for our use case is to set Template Folder Location. In the text box, enter the folder you would like to use for templates. I use _staging/templates.
Create Your Template
In the template folder you specified in the previous step, create a new file. At the very top of your file, paste the following:
<% tp.file.rename('new-file-name-here') %>
Change the new-file-name-here to whatever you want the new file name to be.
Save the file.
Use the Template
Using the command palette
Notes mentioning this note
There are no notes linking to this note.
Leave a Comment